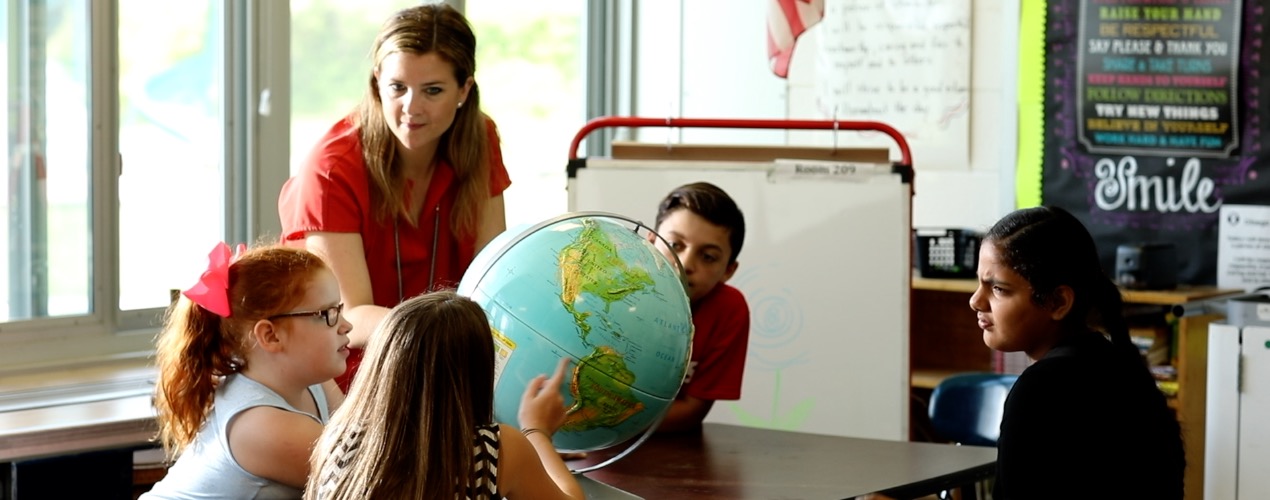
Engage the
whole student.
Help change the
whole world.
The Extraordinary Earth Project
Students Rebuild is a ready-made adventure in global learning through art that engages the whole student, and helps change the whole world.

Follow along with this year's challenge
Post on social media to be featured!
Empowering creative action through more than 7 million pieces of artwork and counting.
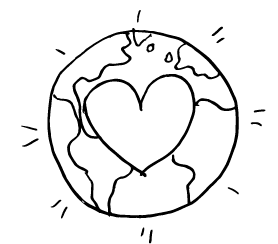
Introducing the 2024 Extraordinary Earth Project
We're all connected
1. Register, set, go!
Registration for the Extraordinary Earth Project is now open! Learn about how we can protect the extraordinary Earth through tackling global environmental issues like climate change. We provide the lessons, content guides and other website resources.
2. Create your art!

Create art out of recycled materials that helps deepen connections with the following environmental themes: Repurposing Waste, Deforestation, Clean Air and Ecosystems.
3. Make a Change!
For each piece of art we receive, the Bezos Family Foundation will make a $5 donation—up to $1.6 million—to organizations addressing some of our world’s biggest needs.
How Students Rebuild Works

Explore a global issue
Each Students Rebuild Challenge gives K-12 students the opportunity to explore an issue alongside fellow ‘artivists’ - or art activists - from around the globe.

In 2020, students learned about the impact of hunger and created their own creative recipes in response.

Make art and mail it in
Use our easy-to-follow instructions to create specific artwork related to the Challenge. When it’s finished, join hundreds of thousands of other participants in sending your art our way.

Student "art activists" — artivists — have created nearly 7 million works of art!

Your art activates donations
For every piece of art we receive, the Bezos Family Foundations donates funds to support community-based organizations serving youth around the world.

In 2020, Students Rebuild helped Mary’s Meals USA expand its school feeding program to 24,541 children across India, Malawi, and Haiti.
"When you make something with your hands, it changes the way you feel, which changes the way you think, which changes the way you act."
Insights from participants
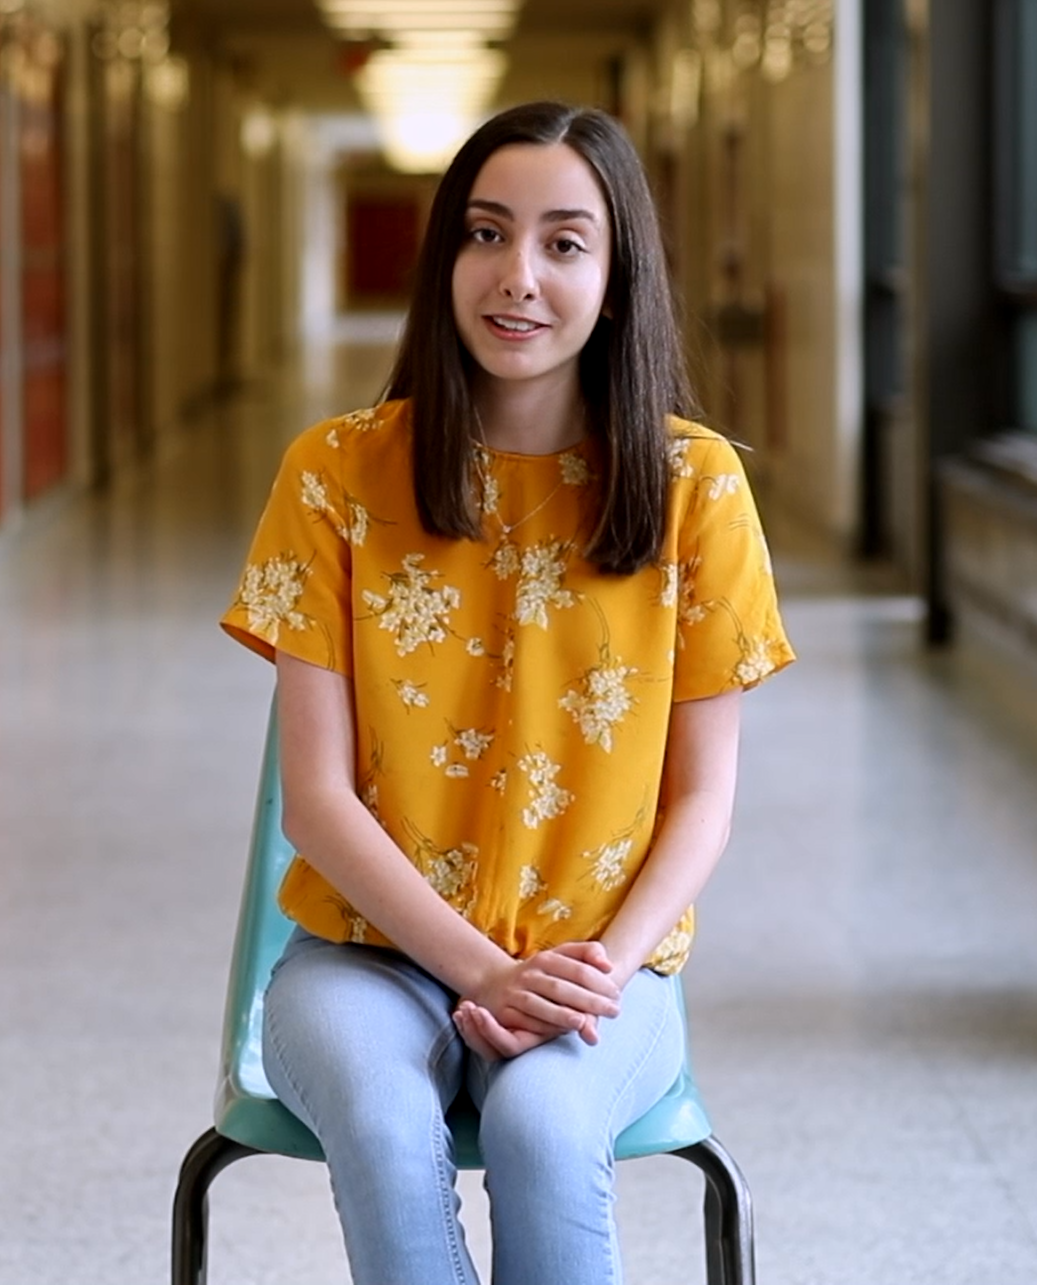


Sarah
High school student, Long Island, NY
“Through Students Rebuild and different classes at our school, I've been able to expand my mind and know more about the world in general. Also, it's sparked interest in what I want to pursue in the rest of my life.”
![]() Challenges: 2
Challenges: 2
![]() Pieces of Art: 3
Pieces of Art: 3
![]() Dollars: 6
Dollars: 6
Ms. Smith
Kindergarten Teacher, Roanoke Virginia
“I love how Students Rebuild allows my students to connect not only students within their own community but to students in other countries across the globe. They loved that they could be a part of that."
![]() Challenges: 4
Challenges: 4
![]() Pieces of Art: 200
Pieces of Art: 200
![]() Dollars: 500
Dollars: 500
Principal James
Middle School Principal, Athens, OH
“I believe projects like this bridge the gap and make our global community that much smaller. You're motivated to think about other people and see what you can do to improve a situation not just at home but somewhere else."
![]() Challenges: 2
Challenges: 2
![]() Pieces of Art: 2,957
Pieces of Art: 2,957
![]() Dollars: 6,248
Dollars: 6,248